- Serves 4
- Baking and Desserts
- Peppermint Meringue Kisses
Peppermint Meringue Kisses
This page may contain affiliate links, which means we receive a small commission for purchases made using the links. There is no additional cost to you. Please read our full disclosure policy.
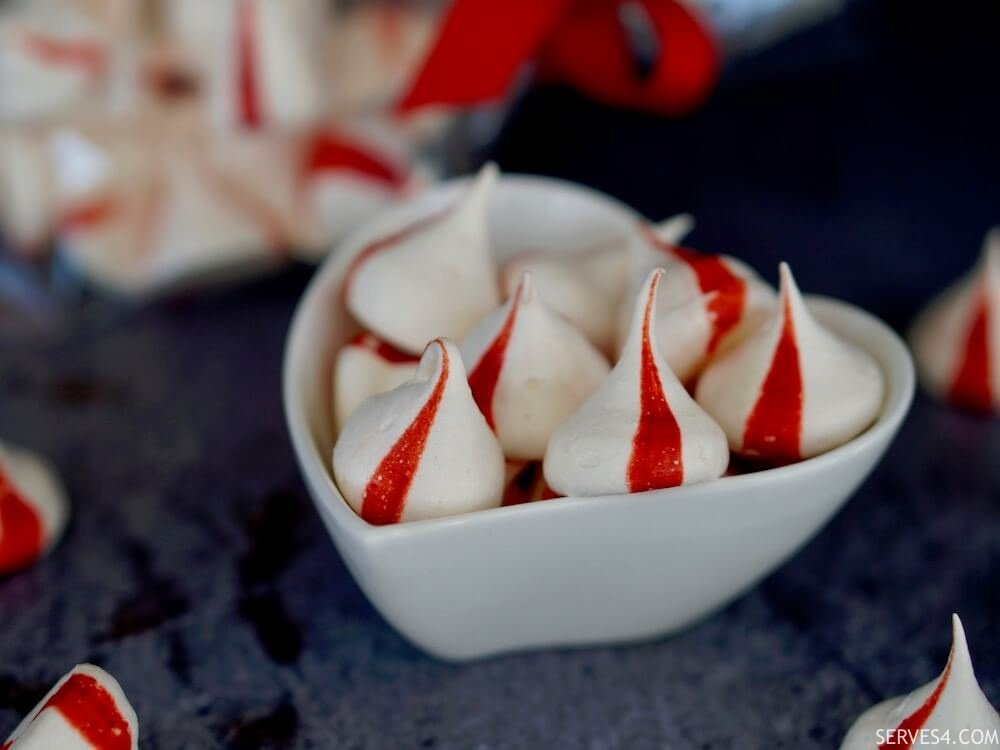
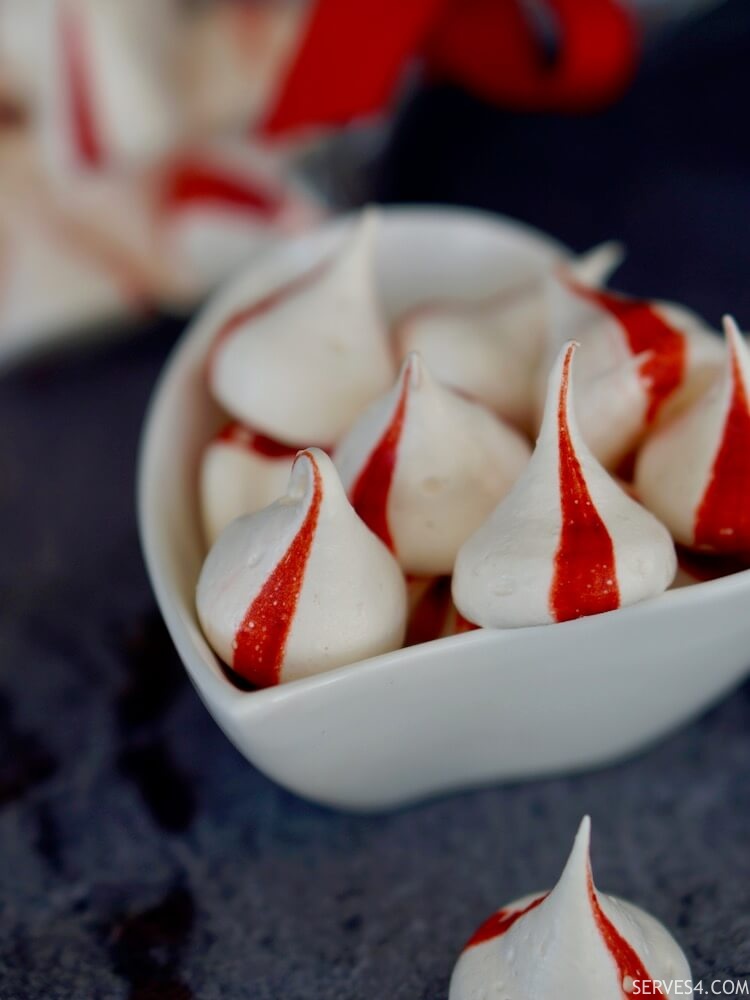
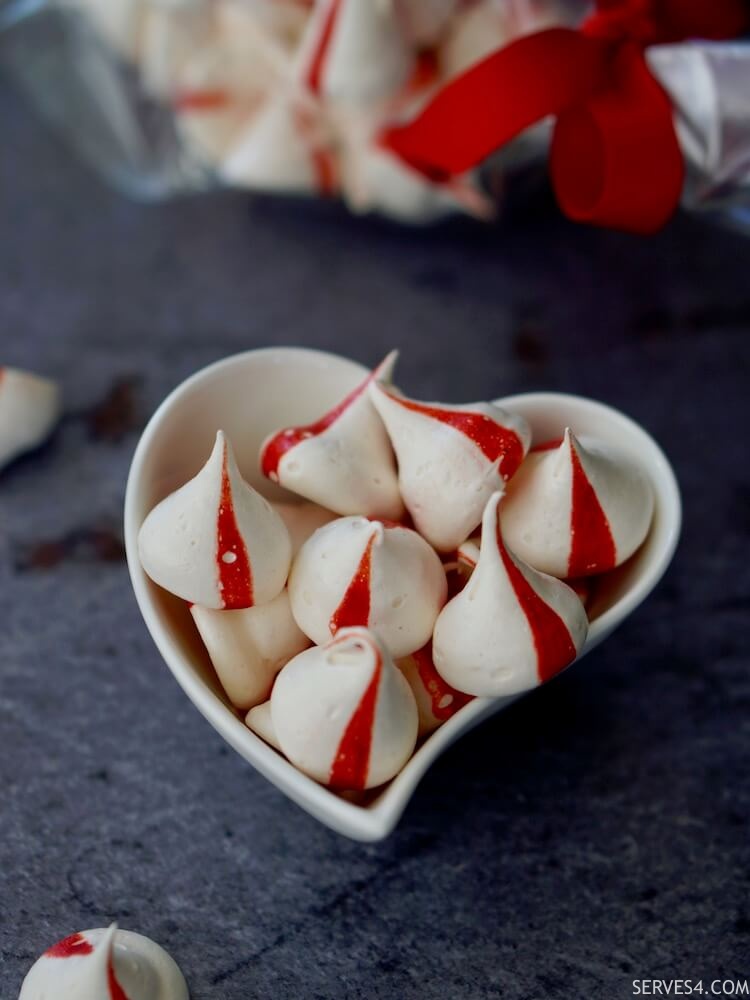
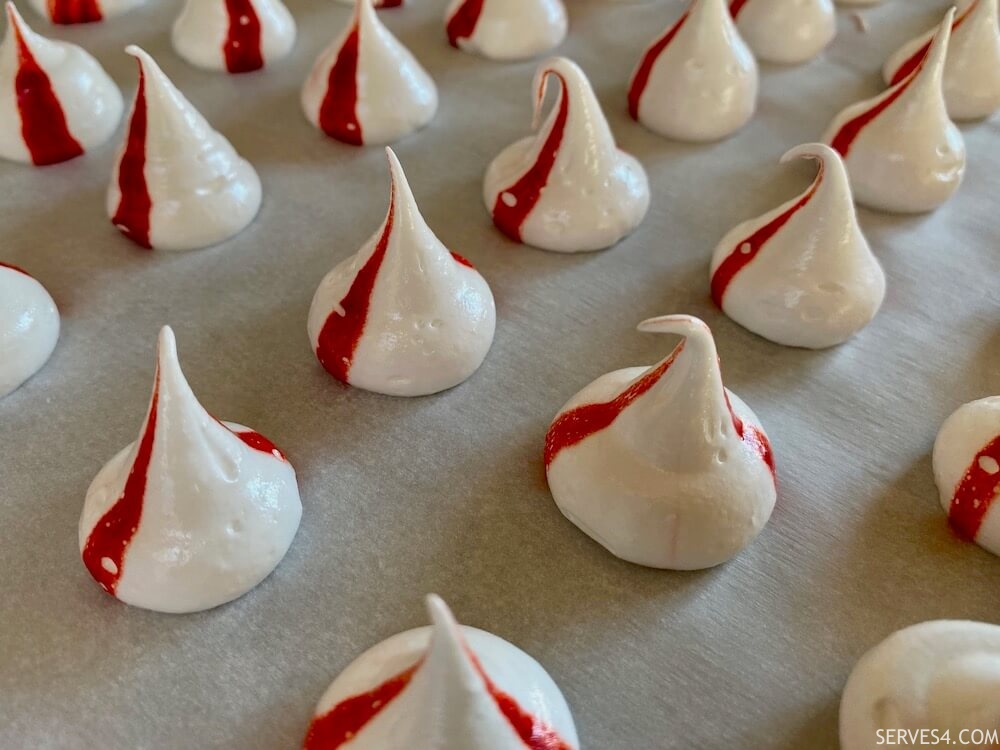
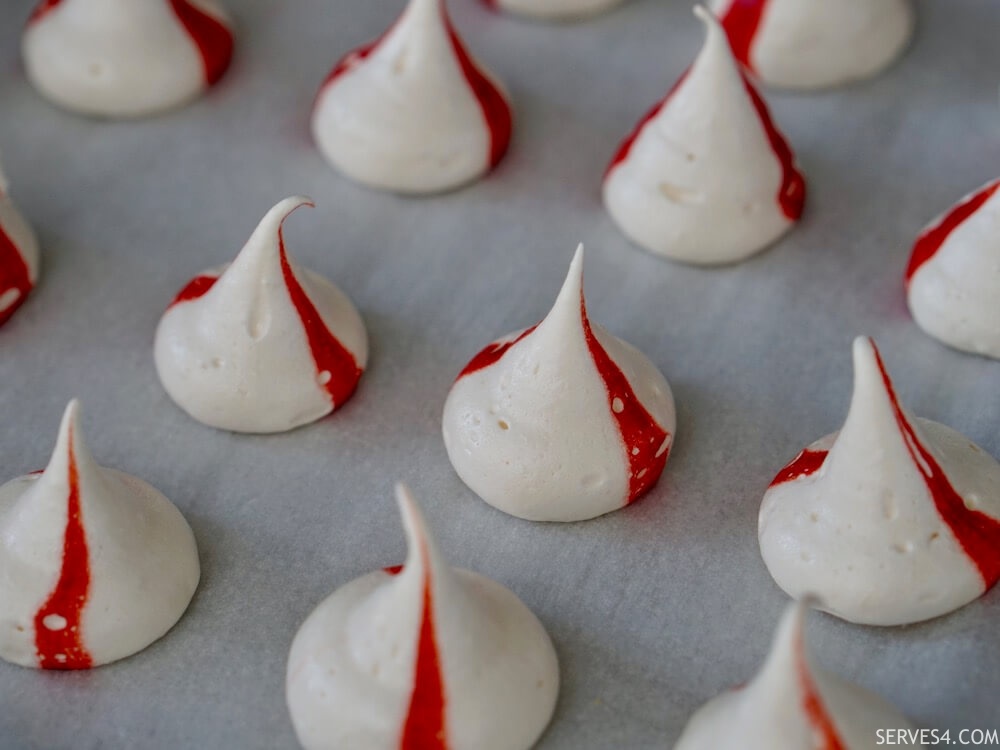
These peppermint meringue kisses make the most adorable festive treat. And they taste just like classic candy canes in the form of bite-sized kisses!
Although peppermint flavours, especially peppermint candy canes, are now commonly associated with Christmas, the original candy cane was not peppermint flavoured, nor did it have the iconic red stripes. The original sweets were straight sticks, and legend has it that a choirmaster at the Cologne Cathedral in Germany bent them to look like shepherd's hooks. Fascinating to learn about the history of things we take as given, isn't it?!
These peppermint meringue kisses are a variation of my vanilla flavoured meringue kisses. Like that recipe, this peppermint meringue uses my favourite Italian meringue recipe as a base. It's really not much more effort than a basic French meringue recipe, but the mixture is far more stable and easy to work with.
Add a bit of natural peppermint extract, and the result is these beautifully festive, light and airy, peppermint meringue kisses. The red stripes are purely decorative, and you could leave them off, if you like. But I love the bold red against the pure white of the meringue, and apart from being festive, the red stripes on white are reminiscent of candy canes and nearly synonymous with peppermint.
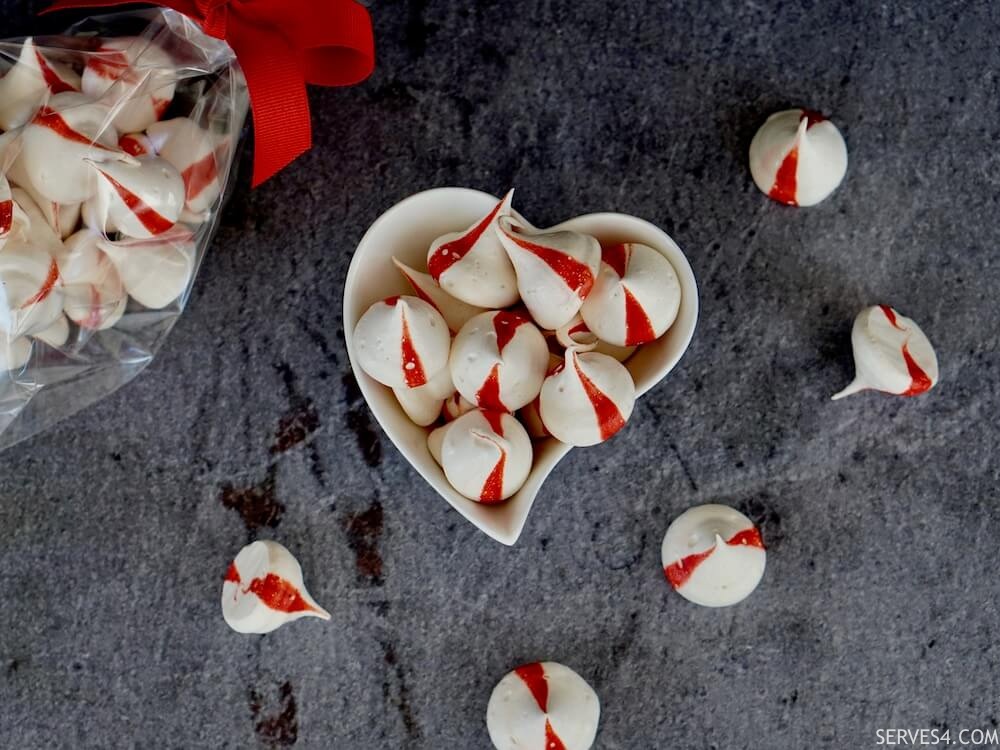
These peppermint meringue kisses make great little treats to keep around the house during the festive period, or any other time of year. They're sweet enough to give you a hit of sugar, but small enough so you don't feel guilty about it. They're also beautiful enough to gift, but you may just want to keep them all for yourself!
If you love meringue, take a look at these other recipes:
- Italian Meringue
- Meringue Kisses
- Eton Mess
- Mini Pavlovas
- Italian Meringue Buttercream
- Chocolate Italian Meringue Buttercream
- Strawberry Chocolate Meringue Buttercream
Here's what you'll need to make these peppermint meringue kisses:
(Click here to jump straight to the recipe)
2 egg whites (from large eggs, ~80g)
160g caster sugar
32ml water
1/2 tsp peppermint extract
1/4 tsp of salt
Red gel food colouring (and a small paintbrush)
And here's what you'll need to do:
- Separate the eggs, and place the whites into a clean mixing bowl. Save the yolks for another recipe. Leave the egg whites for about an hour to warm to room temperature.
- When you're ready to mix the meringue, preheat the oven to 120C (250F) / 100C Fan.
- Put the sugar and water in a small saucepan, and swirl together to wet the sugar.
- In a stand mixer, whisk the egg whites on medium speed, until they start to froth and become foamy. Or use an electric hand mixer, and whisk the egg whites on low speed until they become foamy, double in volume and form soft peaks.
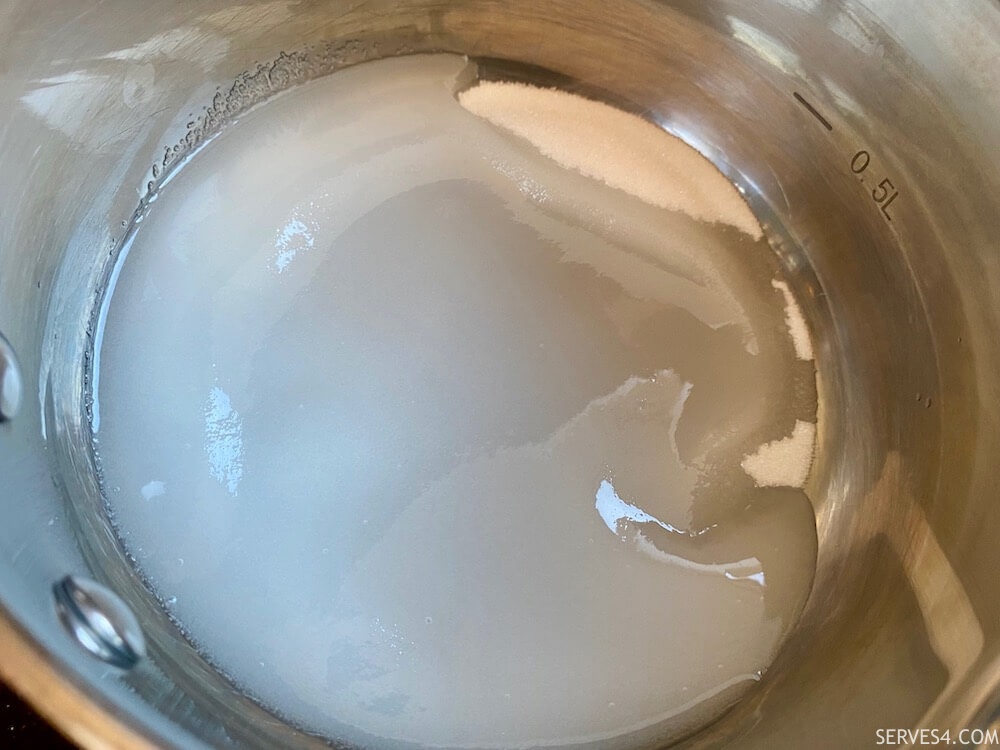
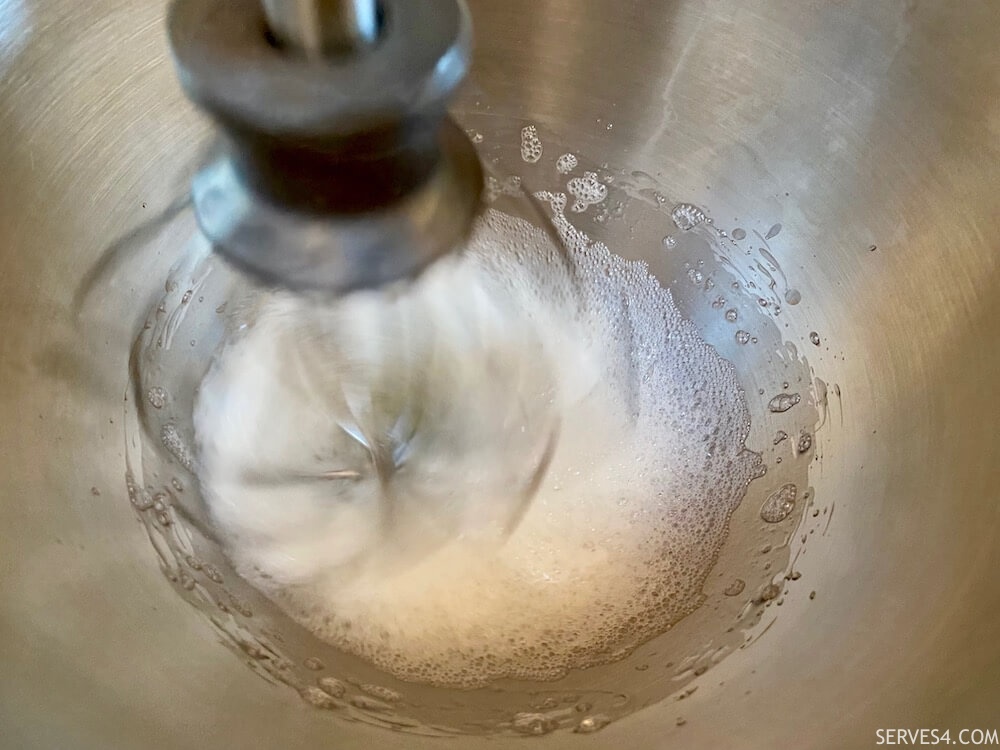
- When the egg whites start to form bubbles, simultaneously, cook the sugar and water together into a syrup until it boils clear. If you have a food thermometer, the sugar syrup should reach about 121C (250F) when it is done (you can turn off the heat just before it reaches temperature). Be VERY CAREFUL - boiling sugar is extremely hot!
- With the mixer still at medium speed (or electric hand mixer still on at low speed), slowly pour the sugar syrup in a thin stream into the egg white, keeping it near the edge of the bowl away from the mixing attachment so it doesn't splatter. Add a little at a time until all the sugar has been poured in.
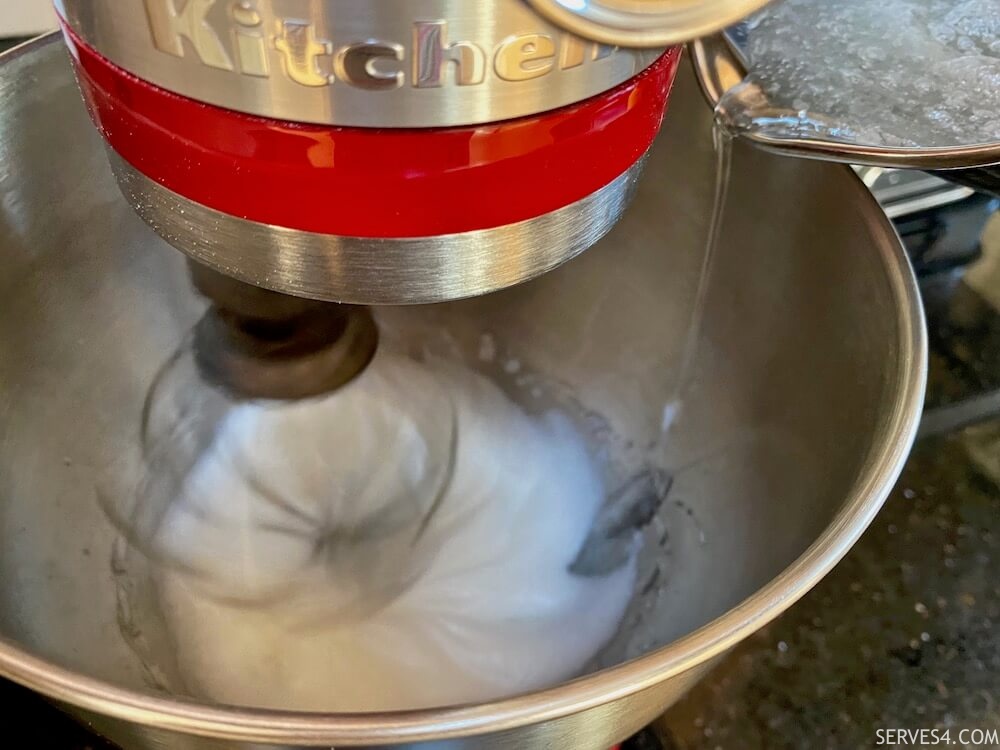
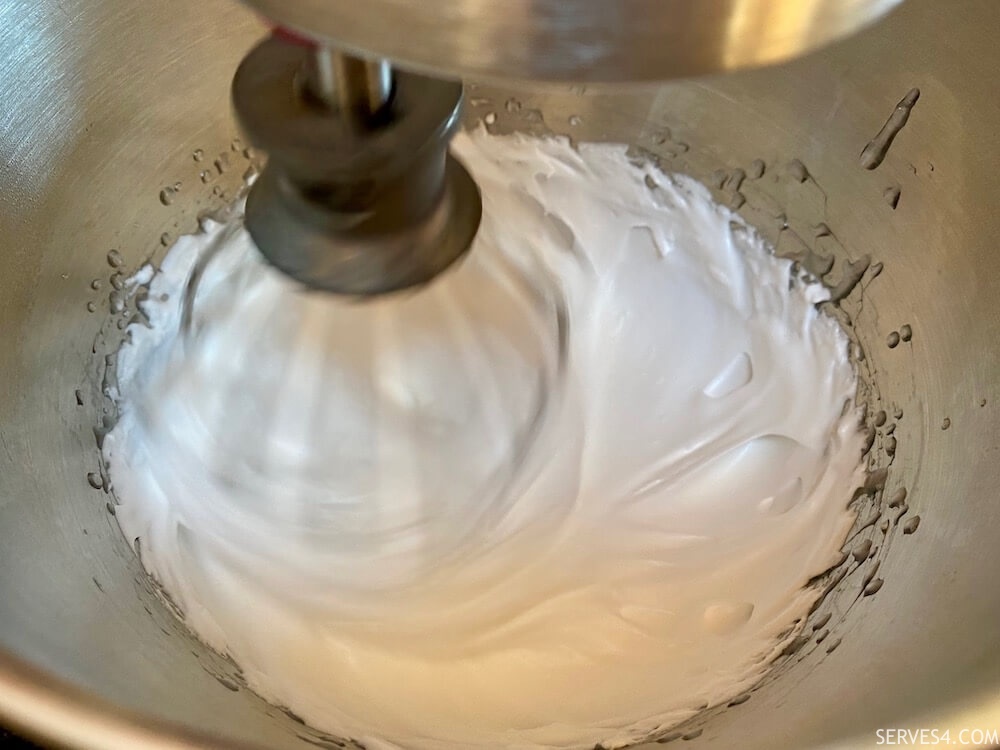
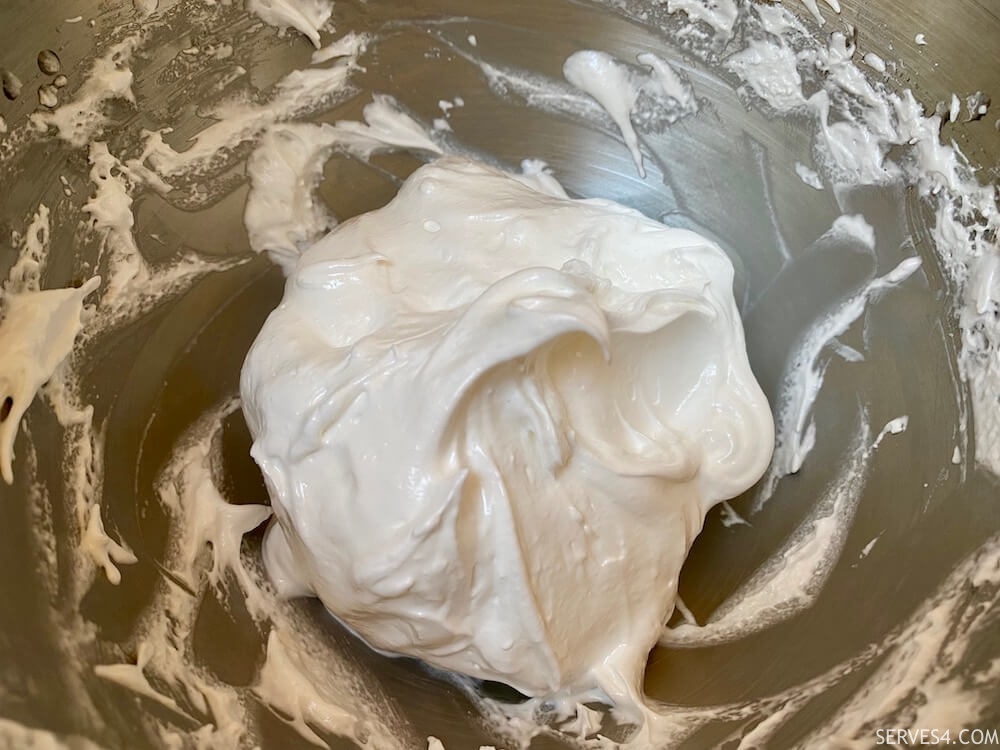
- Turn the mixer up to medium high (electric hand mixer to medium), and continue whisking until the mixture cools to room temperature. Whisk in the salt and peppermint extract. The meringue is ready when it becomes thick and glossy and forms stiff peaks.
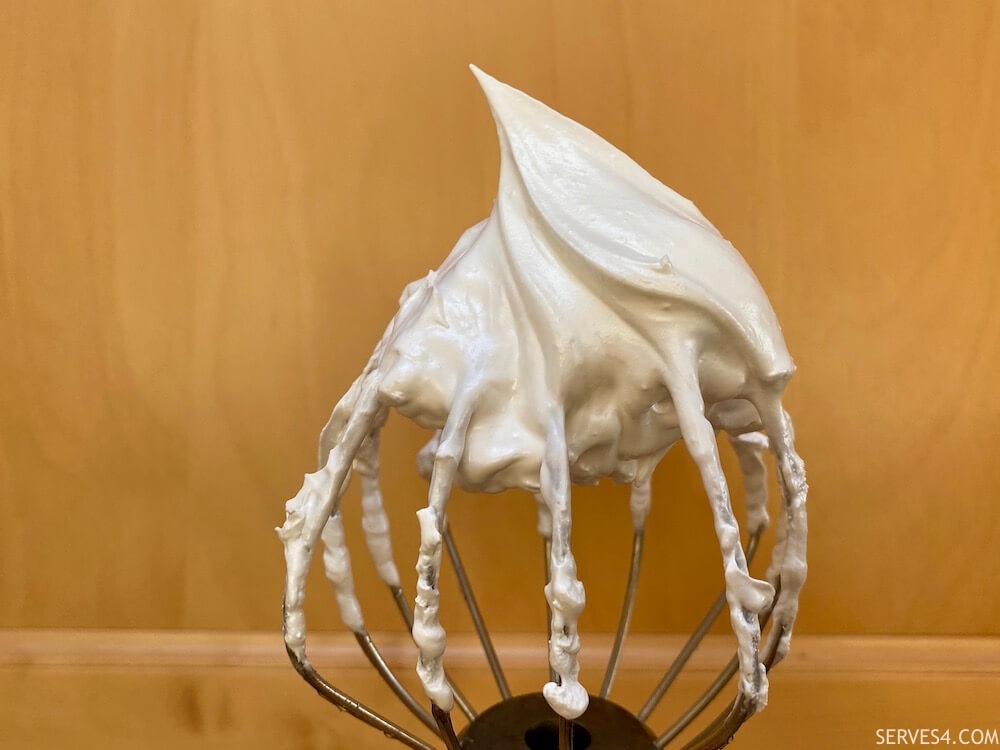
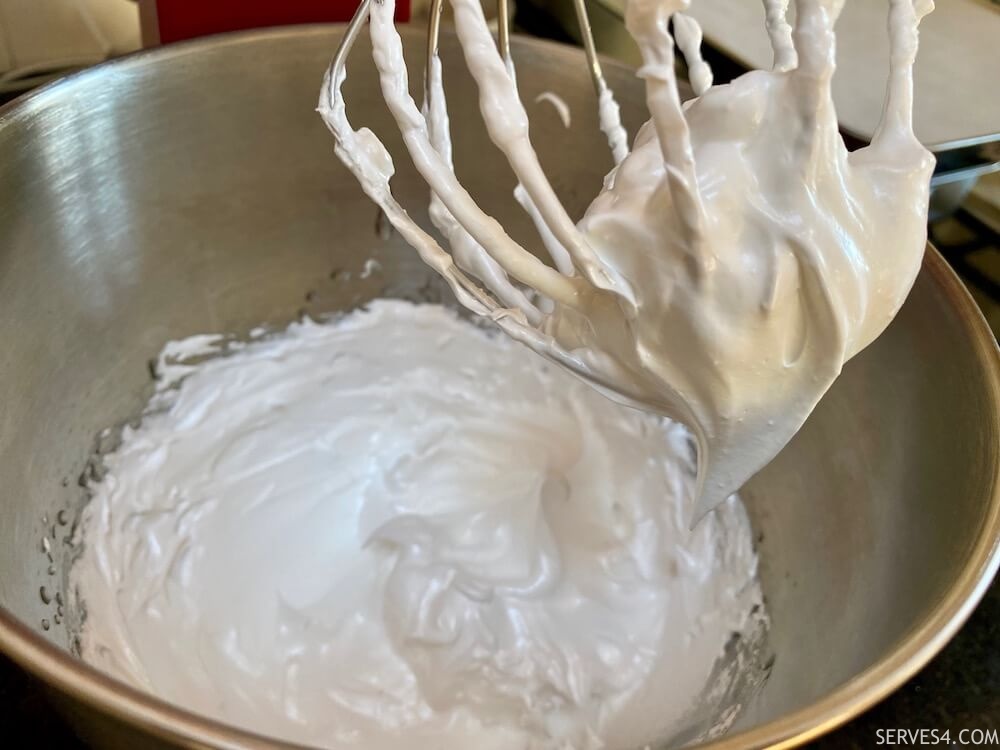
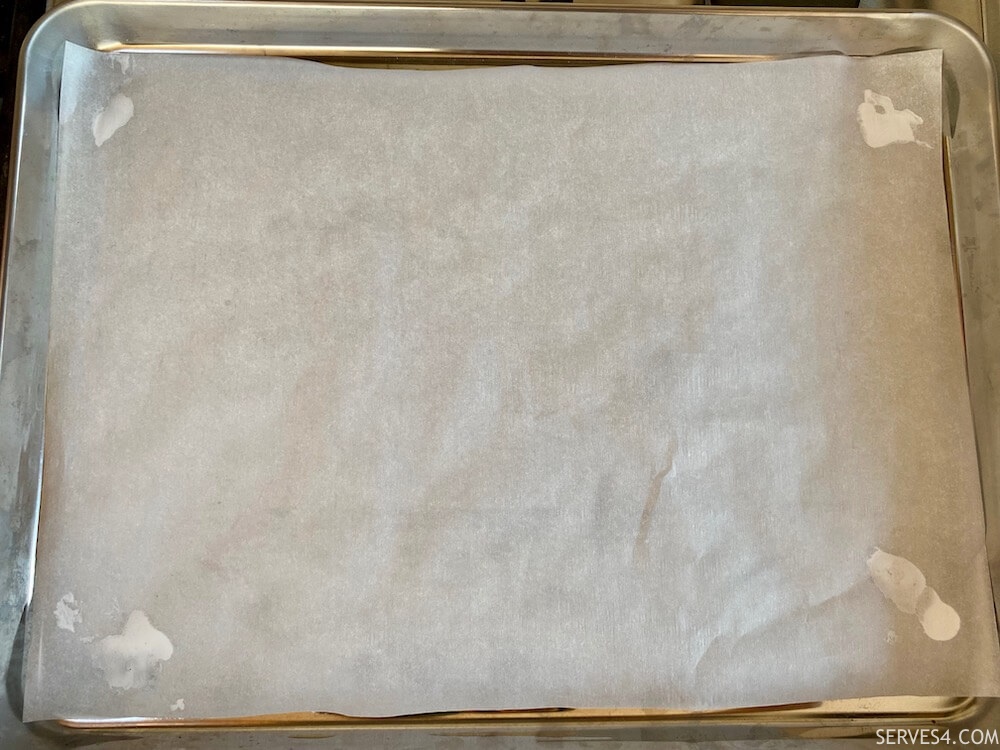
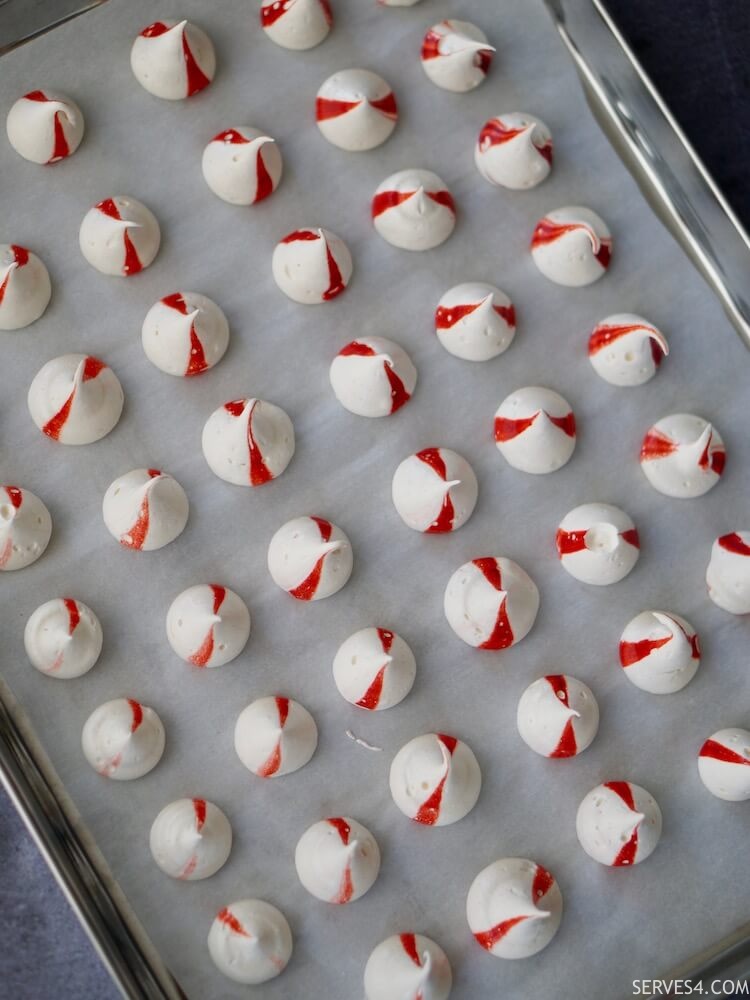
- Line a baking sheet with parchment, and use a bit of meringue mixture to 'glue' the corners to the baking sheet.
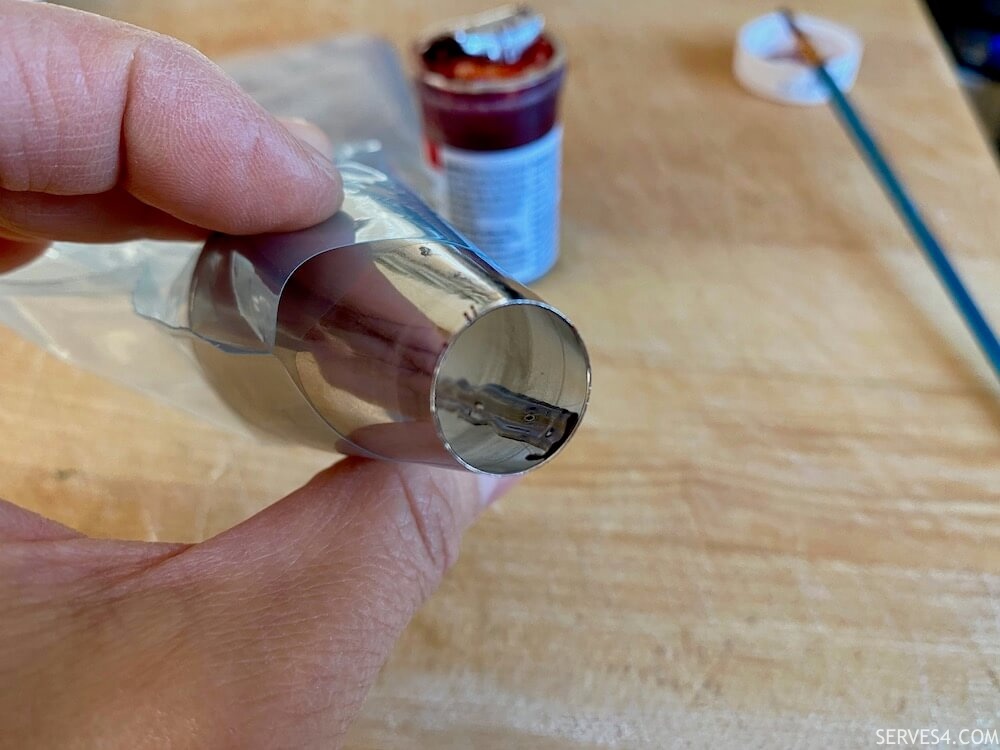
- Fit a piping bag with your preferred tip. I used a round tip with 1.5cm opening.
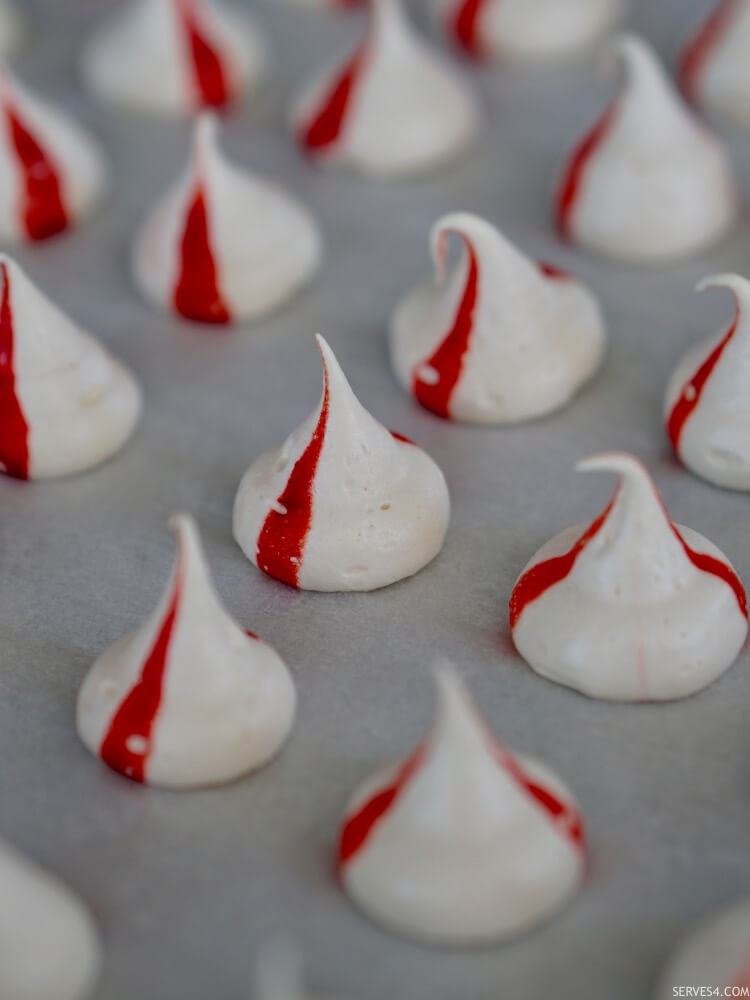
- Using your small paintbrush, paint two stripes of red gel food colouring on either side of the piping tip.
- Fill the piping bag with the meringue mixture, massaging it a bit to reduce air bubbles.
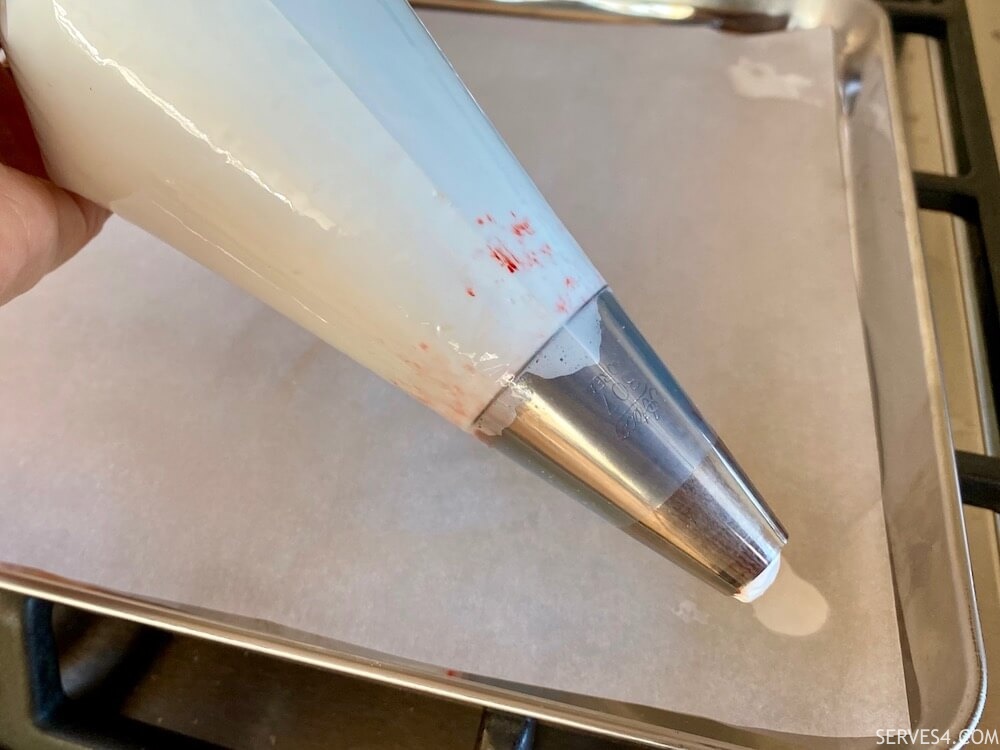
- Pipe the meringue into rows of kisses. They can be quite close together, as the kisses will not expand in the oven.
- Bake in the preheated oven for 60 minutes. Then turn off the heat, and leave the meringue in the sealed oven to cool until completely cold (two hours or even overnight.
- Use straight away, or store in an airtight container at room temperature.
Peppermint Meringue Kisses
By Wendy | Serves 4
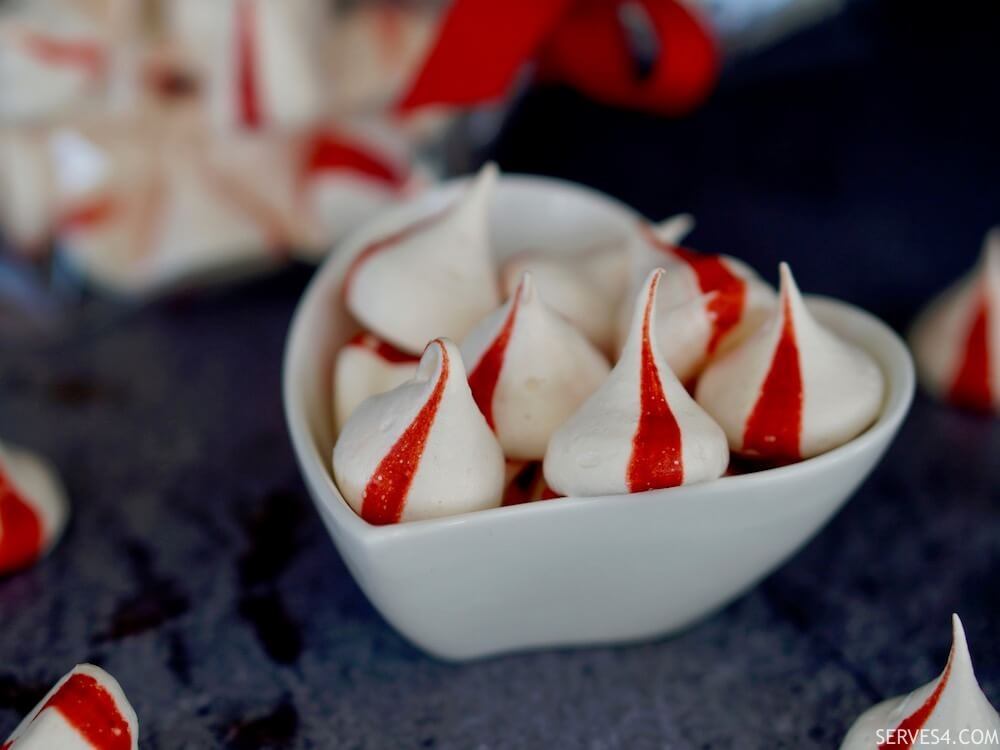
These peppermint meringue kisses make an ideal festive sweet treat - make them as gifts, or save them for yourself!
Prep Time: 25 minutes
Cook time: 60 minutes
Yield: 100 kisses
Course: Dessert, Treat
Cuisine: Modern European
Tags: Dessert, Italian Meringue
Ingredients
2 egg whites (from large eggs, ~80g)160g caster sugar
32ml water
1/2 tsp peppermint extract
1/4 tsp of salt
Red gel food colouring (and a small paintbrush)
Method
- Separate the eggs, and place the whites into a clean mixing bowl. Save the yolks for another recipe. Leave the egg whites for about an hour to warm to room temperature.
- When you're ready to mix the meringue, preheat the oven to 120C (250F) / 100C Fan.
- Put the sugar and water in a small saucepan, and swirl together to wet the sugar.
- In a stand mixer, whisk the egg whites on medium speed, until they start to froth and become foamy. Or use an electric hand mixer, and whisk the egg whites on low speed until they become foamy, double in volume and form soft peaks.
- When the egg whites start to form bubbles, simultaneously, cook the sugar and water together into a syrup until it boils clear. If you have a food thermometer, the sugar syrup should reach about 121C (250F) when it is done (you can turn off the heat just before it reaches temperature). Be VERY CAREFUL - boiling sugar is extremely hot!
- With the mixer still at medium speed (or electric hand mixer still on at low speed), slowly pour the sugar syrup in a thin stream into the egg white, keeping it near the edge of the bowl away from the mixing attachment so it doesn't splatter. Add a little at a time until all the sugar has been poured in.
- Turn the mixer up to medium high (electric hand mixer to medium), and continue whisking until the mixture cools to room temperature. Whisk in the salt and peppermint extract. The meringue is ready when it becomes thick and glossy and forms stiff peaks.
- Line a baking sheet with parchment, and use a bit of meringue mixture to 'glue' the corners to the baking sheet.
- Fit a piping bag with your preferred tip. I used a round tip with 1.5cm opening.
- Using your small paintbrush, paint two stripes of red gel food colouring on either side of the piping tip.
- Fill the piping bag with the meringue mixture, massaging it a bit to reduce air bubbles.
- Pipe the meringue into rows of kisses. They can be quite close together, as the kisses will not expand in the oven.
- Bake in the preheated oven for 60 minutes. Then turn off the heat, and leave the meringue in the sealed oven to cool until completely cold (two hours or even overnight.
- Use straight away, or store in an airtight container at room temperature.
What's on your mind?
Let us know any thoughts, comments or questions by getting in touch here.
Back to the Top!

